I love planning and creating fabulous events as it is my profession. My favorite events are
kids birthday parties. I recently planned a 1st birthday party for my little
guy and I must say there is nothing more exciting than planning a party for a client who lives
across the hall from you!
I could have gone out and purchased all these elaborate things for his 1st Birthday Party but for a very special client that is so near and dear to my heart I preferred to do what I do best and let my crafters nature blossom!
Here's a little back story on why my husband and I decided to go with the theme we chose. When our little guy was about 4 months old we explored the idea of exposing him
to television. After researching and skimming through endless amounts of
child programmings we both agreed on
BabyFirstTv.
He instantly fell in love with the little blue character called
Peekaboo. Thus the theme for his party was Peekaboo, I See You.
During initial stages of planning I contacted BabyFirstTv to see if
they offered any party supplies for their characters. Unfortunately,
they didn’t have any but I was up for the challenge of creating my own
and sharing what I came up with to other parents. Hopefully my ideas,
designs and creations will inspire someone else.
The invitations set the tone for the party. Creating a sneak peek of the theme and color scheme.
Like I said before we had no Peekaboo themed decorations so everything
was created and made. Here’s a few pictures of the overall decor.
Custom made Peekaboo banner.
Picture Collage Board and month banner.
Signature Pit Stop
I used this blue Mickey Mouse 1st Birthday hat as substitute for his Peekaboo ears. I also custom designed a Peekaboo white longsleeve onsie at Cafepress.com.
For the food description tent cards I printed out tiny pictures of
Peekaboo and attached them to small square card stock paper for a
colorful display on the food table.
We had a kid friendly menu with consisted of veggie dippers, chicken
fingers, a tropical fruit bowl, mini hot dogs, candy sticks, cheesie
puffs, mac and cheese muffins, potato chips, mini cheese burgers, fried
chicken, gum balls, and french fries cones.
In addition we had mini milk
jugs and chocolate chip cookies as well as an ice cream station and
chocolate cake cups. All of the food was made by me.
(I drapped the wall with the same kiwi green plastic table cloth and
streamed turquiose, green and silver crepe paper down the wall.)
I used the same green plastic table cloth to make this custom ruffled table shirt for the beverage table.
I also attached Peekaboo picture cut outs to these green bendable straws for the kids.
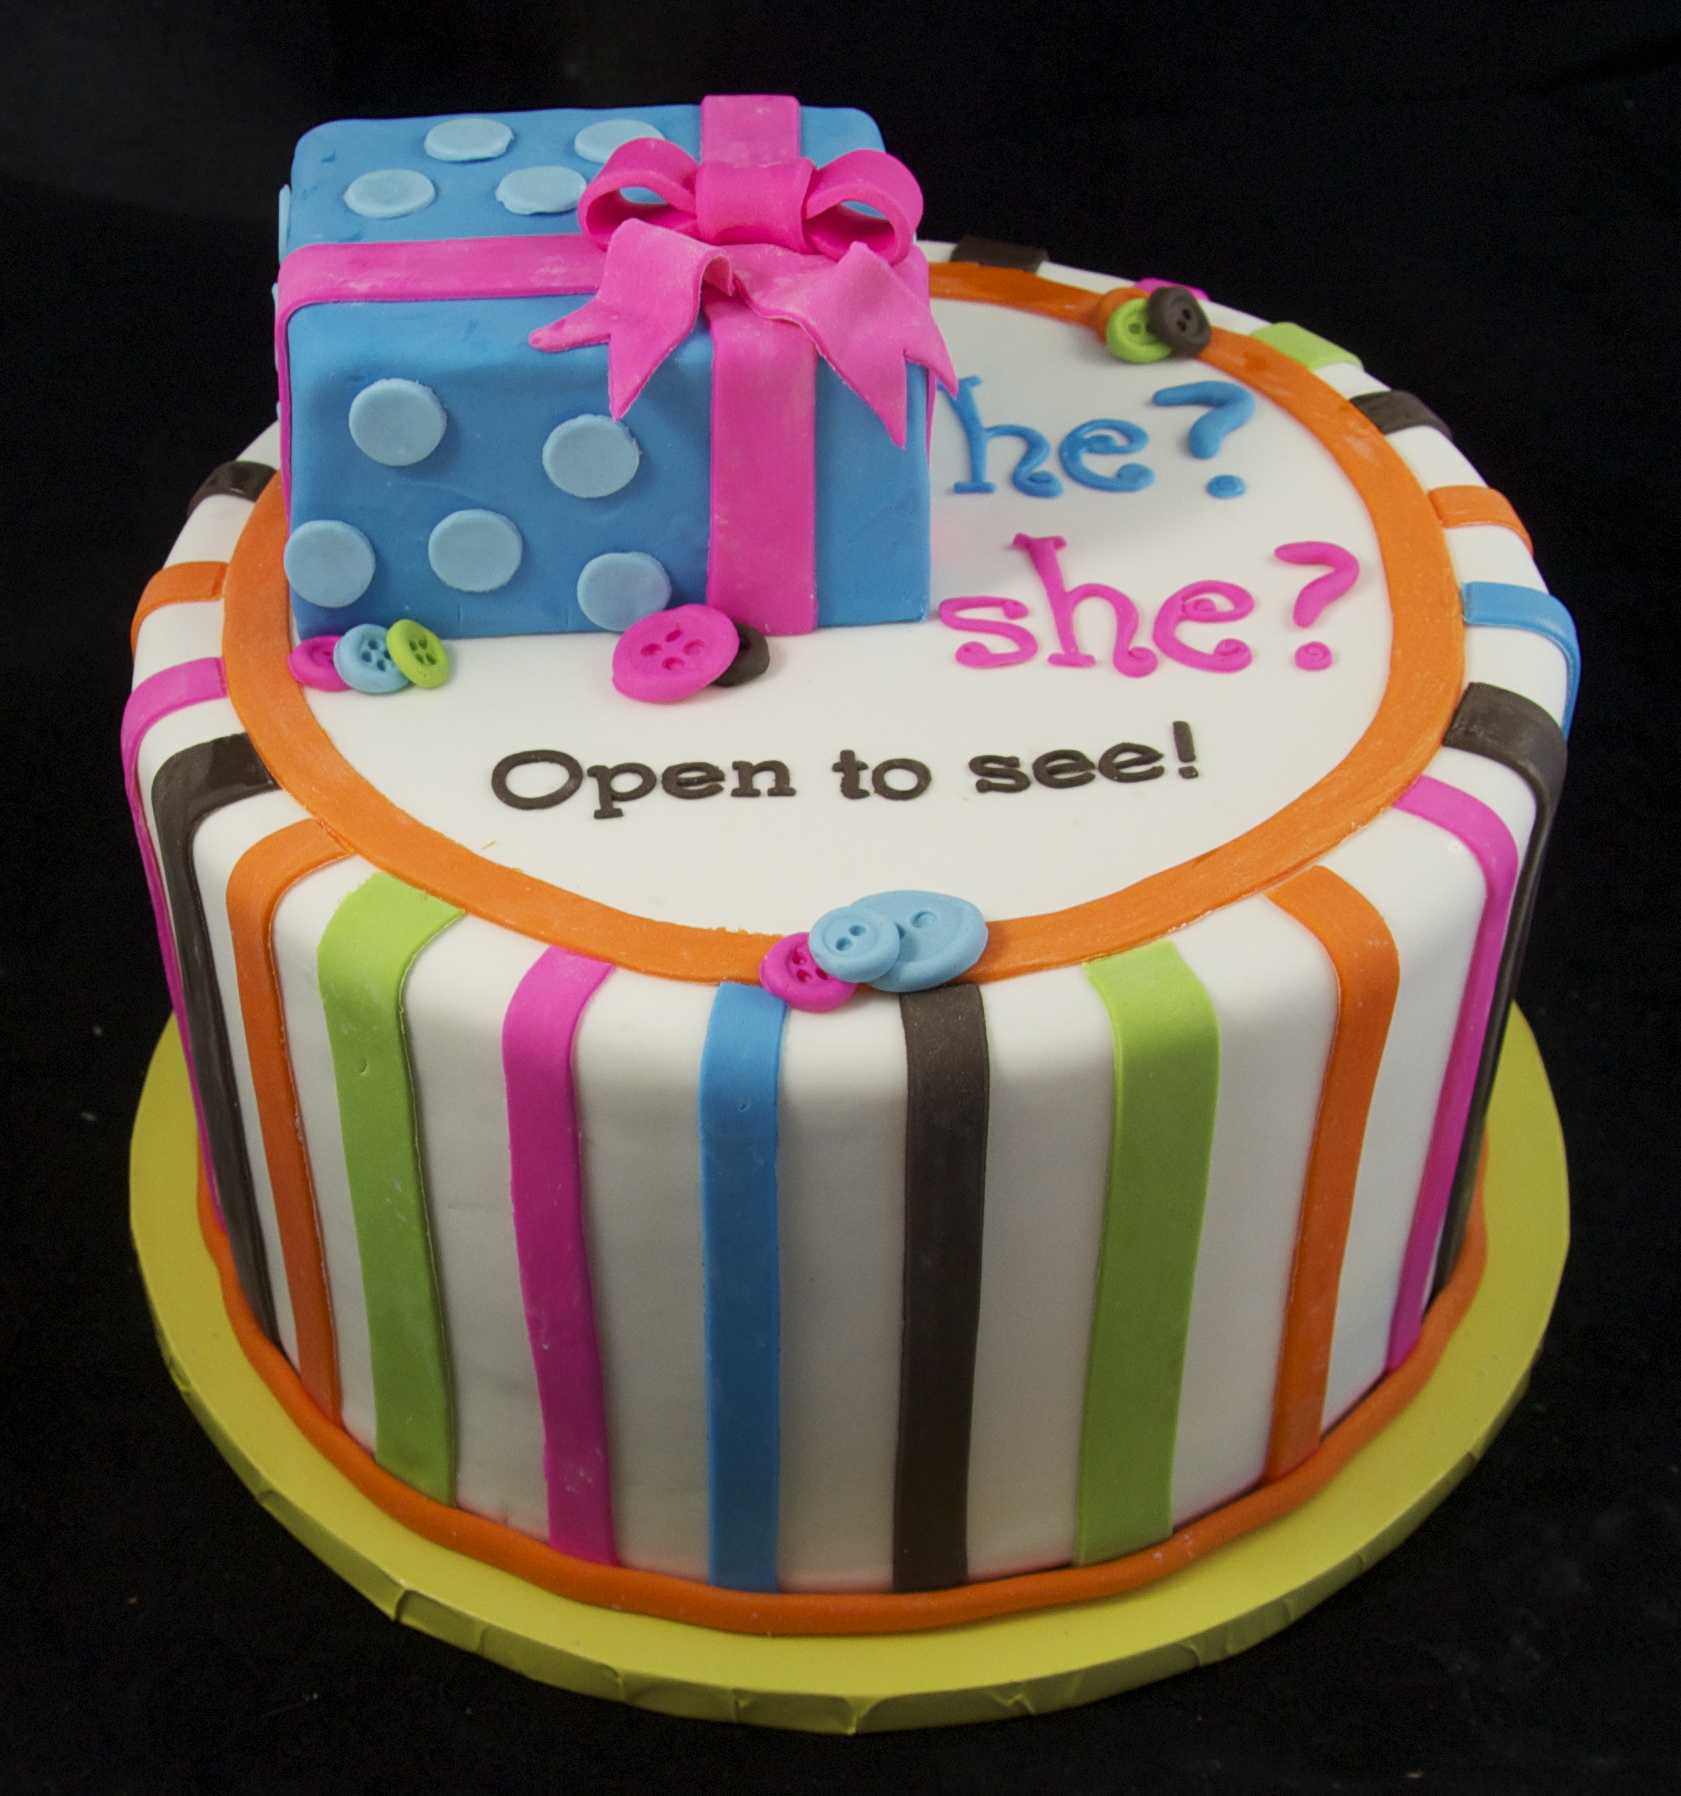
But the real star of the table was the Peekaboo theme Birthday Cake. It was a two tiered vanilla cake with vanilla buttercream filling covered in colorful fondant. It was made from a local bakery in Connecticut by the name of
Chaves Bakery & Deli.
If you are familiar with “Peekaboo, I See You”, you’ll know that
Peekaboo loves to hide behind many objects. One of his more popular
objects is his green chair. Which I made out of kiwi green plastic table
cloth from Party City and cardboard. This chair turn out great as a
decorative piece but doubled as a table for the milk and cookies. It
also served as a great way to incorporate our fireplace into the party.
I hung foam letters that spelt out his name above the fireplace. I got
these foam letters from his ABC foam mat. Next to the green chair I laid
out his favor canvas tote bags which I custom designed with Peekaboo
and Blossom images on VistaPrints. Filled with goodies, toys, activities
and treats. In front of the bags were kiwi green easter buckets with
candy-filled colorful eggs. (His party was held the day before Easter
Sunday).
I decorated the mantel with the adorable Blossom favor cookies I had
custom made by Two Sweet Sensations. I added Peekaboo Thank You tags.
At the corner of the fireplace I created a life size Peekaboo Magic Door
with Peekaboo popping out to say Hi! Behind which I plugged in a bubble
machine for some bubbly fun.
His party was held at our home with a detailed schedule of games and
activities to keep the kids entertained. In keeping with the theme, most
of the activities were centered around Peekaboo and BabyFirstTv. First
we had color time with free printable images I printed out from
BabyFirstTV’s goodies page on their website.
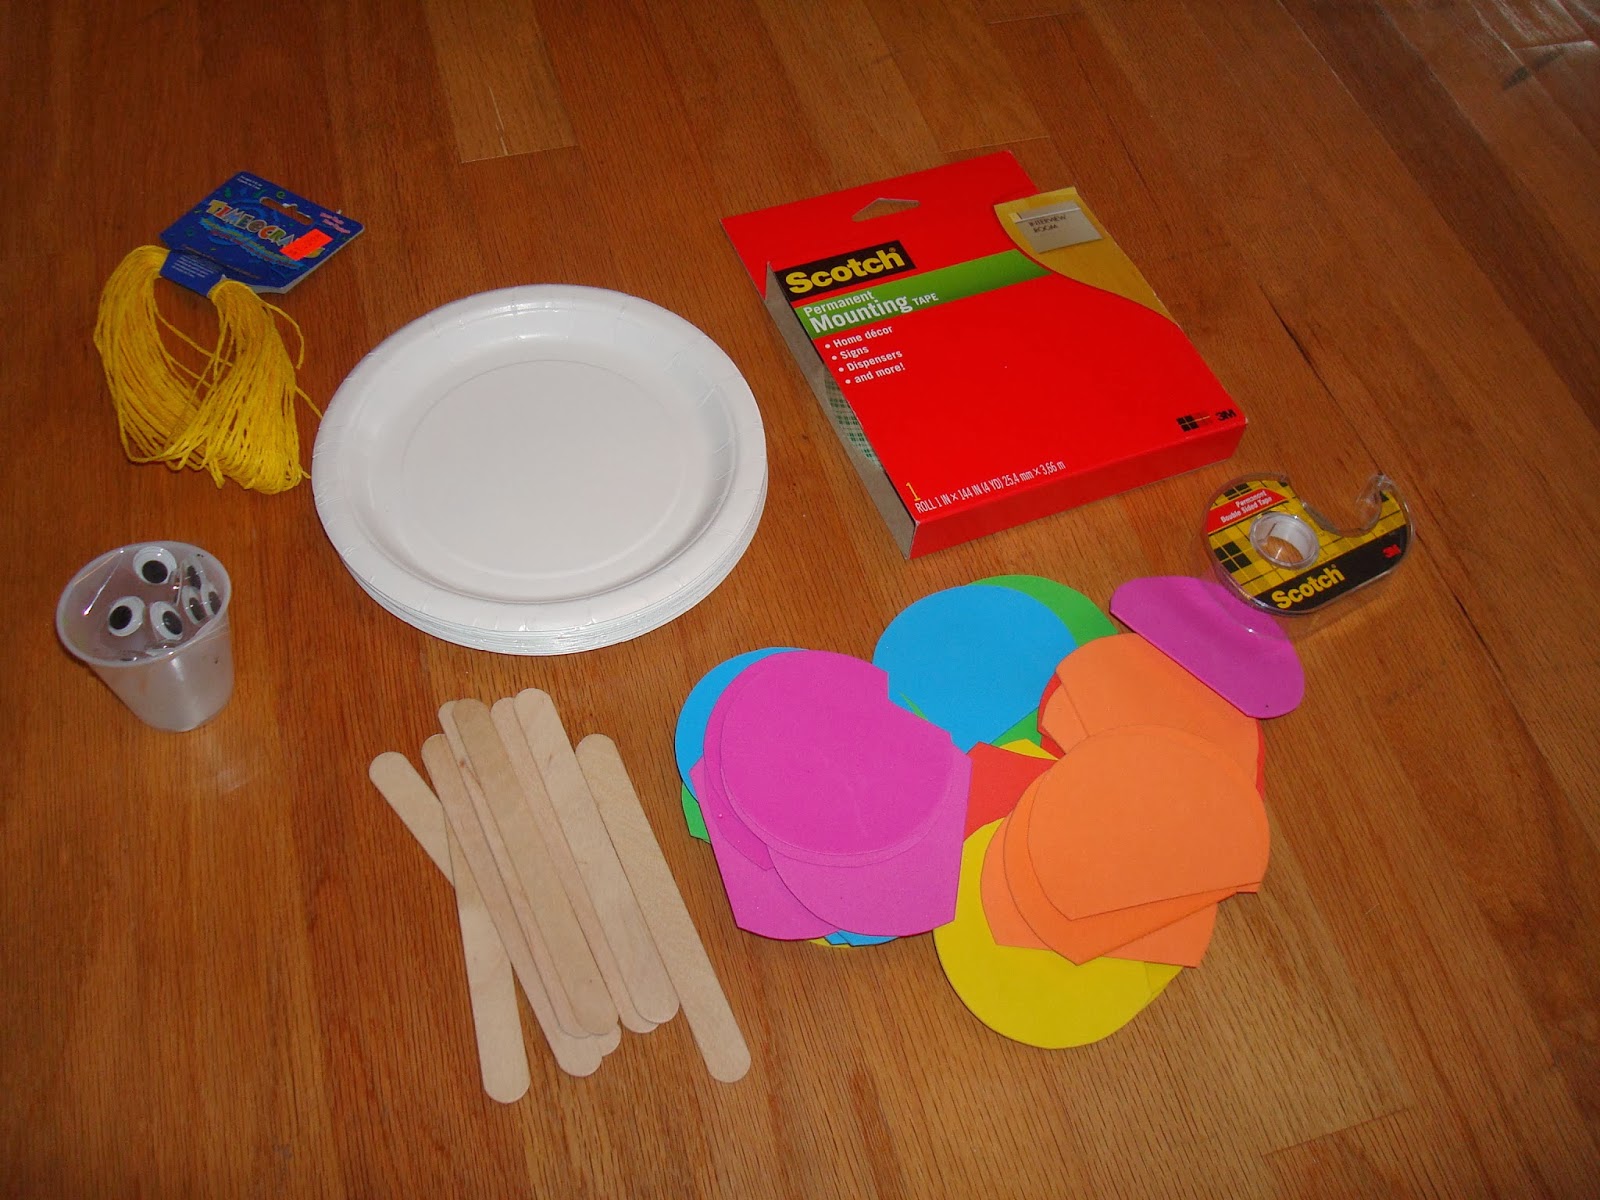
We then did Arts and Craft in which we made “Blossom Fans” with
afforable supplies I got from the Dollar Store. I pre-cut the petals
from colorful foam sheets and used white paper plates for the face.
We attached the petals to the plates with double-sided foam adheasive from Staples. The colorful “Blossom Fans” were a big hit with the kids!
We also played a Peekaboo Match Game which I created and printed out on white card stock paper. I laid all the pictures face up on the floor so that the kids could see where all the matching pictures were. Then they had to remember where the matching pictures of Peekaboo and the same object were as they took turns.
I even had a Pin-the-Nose-on-Peekaboo Game. I ordered a large Peekaboo Poster from VistaPrints and taped it to cardboard which I then cut out to get a life-size image of Peekaboo. The kids took turns being blind folded to pin the nose on Peekaboo. I used double-sided velcro tape from Staples to attach the noses.
Finally...It was time to eat cake!
After all the planning and executing, my very special client was happy and that’s all that mattered.